
DIY Fursuit: Where a Beginner Should Start and How Not to Quit Halfway Through
A realistic plan for your first fursuit: what to do first, how much time to allow, which mistakes are the costliest, and when it’s easier to commission a professional maker.
- #DIY
- #for beginners
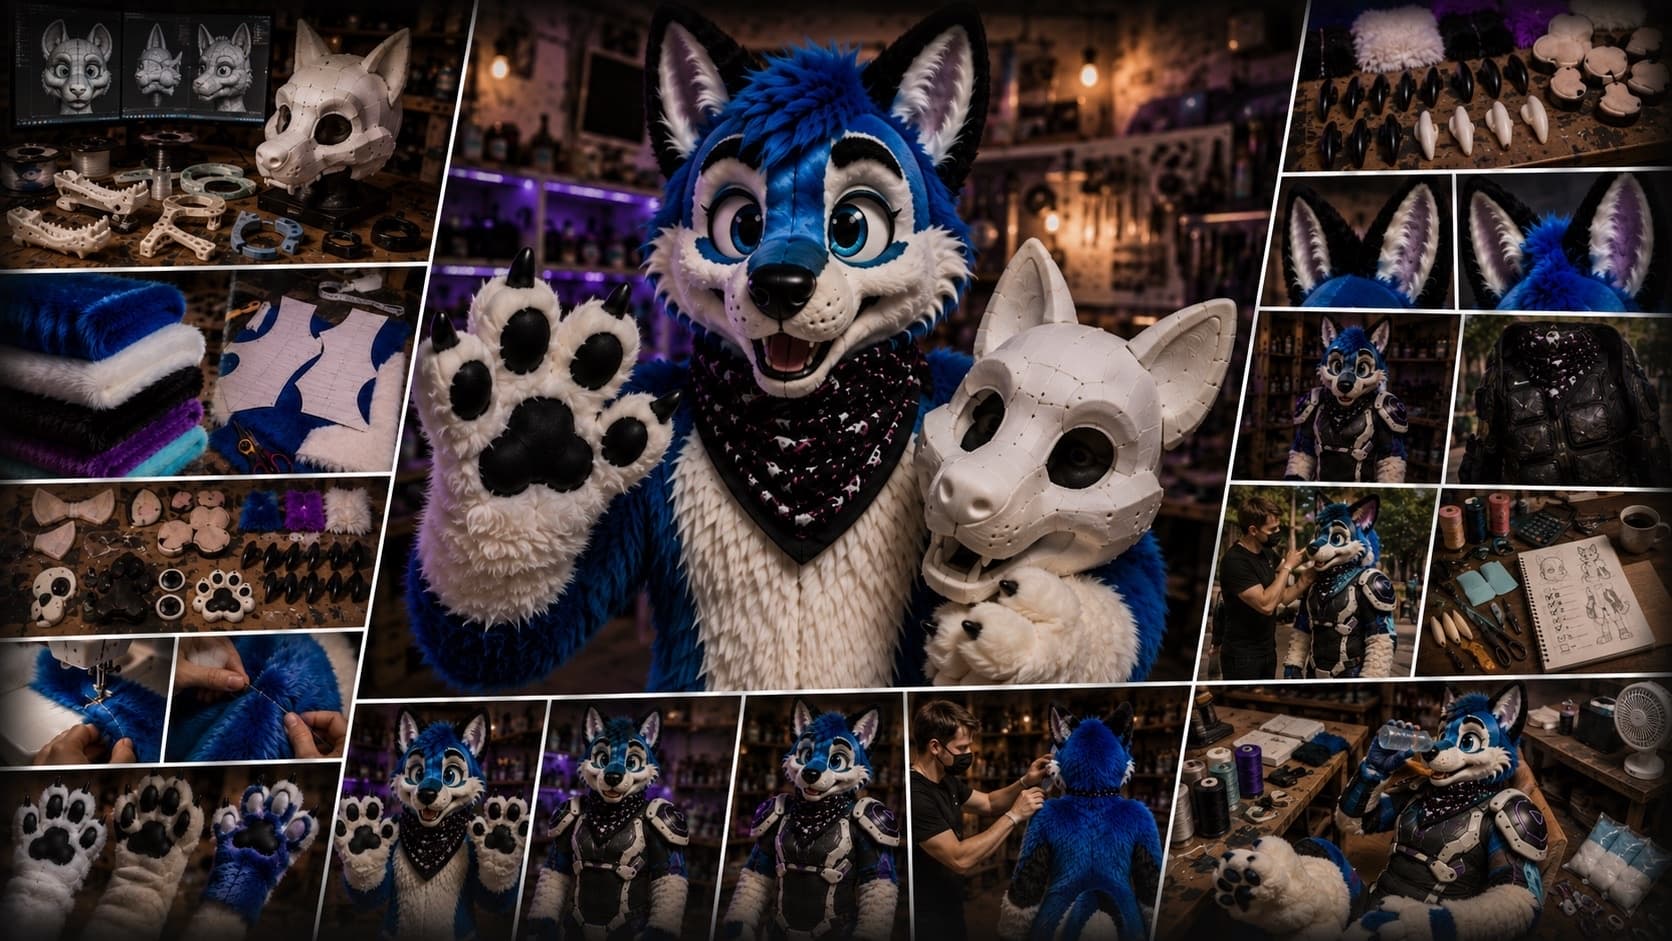
An honest look at my first project
Making a fursuit yourself is a rewarding activity, but it requires patience. According to general estimates, a suit takes over 200 hours to complete—and a beginner will likely spend even longer. Therefore, the priority isn't speed, but rather choosing a project you will actually see through to the end.
You can find a detailed technical breakdown of the process in the article "How to Make a Fursuit". Here, we outline a strategy for beginners.
Step 1. Define the goal.
Ask yourself:
- What is the costume for? Photos, walks, events, or a collection?
- How much time are you willing to spend? An hour a day or a few evenings a week?
- Do you have the space and tools? Gluing and trimming fur require ventilation and an area that can handle dust and loose fibers.
- Are you aiming for a perfect result or the experience itself? This determines the level of complexity you should choose.
Step 2. Start small.
The most common route for a newbie is to jump straight into a full suit and stop after losing interest. It is safer to move in steps:
- Ears and Tail Easy 1-2 weekend projects: Learn to work with fur, cut backing, and sew.
- Paws-gloves. Here you need to be careful and fit the hand - see “Paws and gloves for fursuit”. Simple four-toed paws are recommended to be done after you have sewn the tail.
- Head. The most difficult part: shape, fit, eyes, ventilation. More details - “How to make a head”.
- Body and the rest - optional.
This path gives results at every step and allows you to understand whether you like this process.
Step 3. Choose a simpler style and design.
Your first suit doesn’t have to be the most complex design in the world. A cartoon style with bold shapes is more forgiving of imperfections than a realistic style, which requires perfect execution of facial anatomy. You can read about the differences in the article “Types of Fursuits”. If your character features complex markings, horns, or electronics, consider saving that design for a future project.
Step 4. Choose a base.
The weight and complexity of the project depend on it. For beginners, these are usually the easiest options:
- foam — lightweight, and can be trimmed with a knife and scissors;
- ready-made base — saves time, though you need to select the right size and quality.
Papier-mâché and cardboard are suitable for a trial run but aren't durable enough for regular wear. You can find a comparison in the article on bases.
Step 5. Gather materials and tools.
The basic kit includes: sharp scissors and a craft knife, sewing needles, pins, masking tape (for patterns), contact cement and hot glue, faux fur, foam, felt, eyes, and mesh. Buy extra fur and check the direction of the pile—read more in the article "Fur for Fursuits". A sewing machine isn't mandatory—much of the work can be done by hand—but using one makes the process faster.
Step 6. Patterns and fitting
Don't skip the pattern-making step: the tape cast created on the base and the "mannequin" provides the necessary shape. Check the fit on yourself before proceeding to each new step. You can find the details in the guide "Fursuit Patterns".
Where to find training materials
- Instructional guides from experts — step-by-step tutorials covering heads, paws, tails, and patterns.
- Fursuit-maker communities on social media and forums: places to share work-in-progress photos and get advice.
- Video tutorials — useful for complex techniques, such as sewing fur and shaving/trimming.
Look for up-to-date content: methods and materials change, and search results often include low-quality articles.
The costliest mistakes
- Savings on the base and fur. Cheap materials give unpredictable results, and reworking is more expensive.
- Cut against the pile. The direction of the fur cannot be corrected after sewing.
- No fit check. The head must be put on and looked at until it is tight.
- Forgot about ventilation and visibility. A suit in which you cannot breathe and see is useless.
- The project is too complex for the first experience.
- Work without exhaust or protection. Glue and fur dust are harmful: ventilate the room and use a mask.
When is the best time to order?
Ordering from a professional maker makes sense if:
- you lack the time or workspace to make it yourself;
- you need the suit by a specific date;
- the design is complex (involving electronics, a moving jaw, or digitigrade legs);
- you want the result to match your reference exactly.
You can also mix and match: order the head from a maker while crafting the tail and paws yourself. Find more details on ordering here, and check the Pricing section for costs. If you’re unsure, submit a request—we can advise you on what’s best to make yourself versus what’s better to order.
Questions and Answers
How much does it cost to make a fursuit yourself? Depends on the format, materials and tools. The biggest expense is quality fur and warp; Don't forget about time and consumables.
Is it possible to make a fursuit without a sewing machine? Yes, many parts are sewn by hand, and some are held together with glue. But with a typewriter it’s much faster.
Which style is easier for a beginner? Cartoon with large shapes. Realistic requires precise work on anatomy and coloring.
How long will it take for the first head? There is no exact deadline: it depends on experience and free time. Block out the weeks and continue at your own pace.
Want a custom fursuit?
Tell us about your character — we will assess the project and name the timeline and price.