
How to Make a Fursuit: Stages, Materials, and Tools
The stages of making a fursuit include: the base, tape patterns, fur, sewing, and the creation of eyes and details. It also covers the necessary materials and the time required.
- #DIY
- #materials
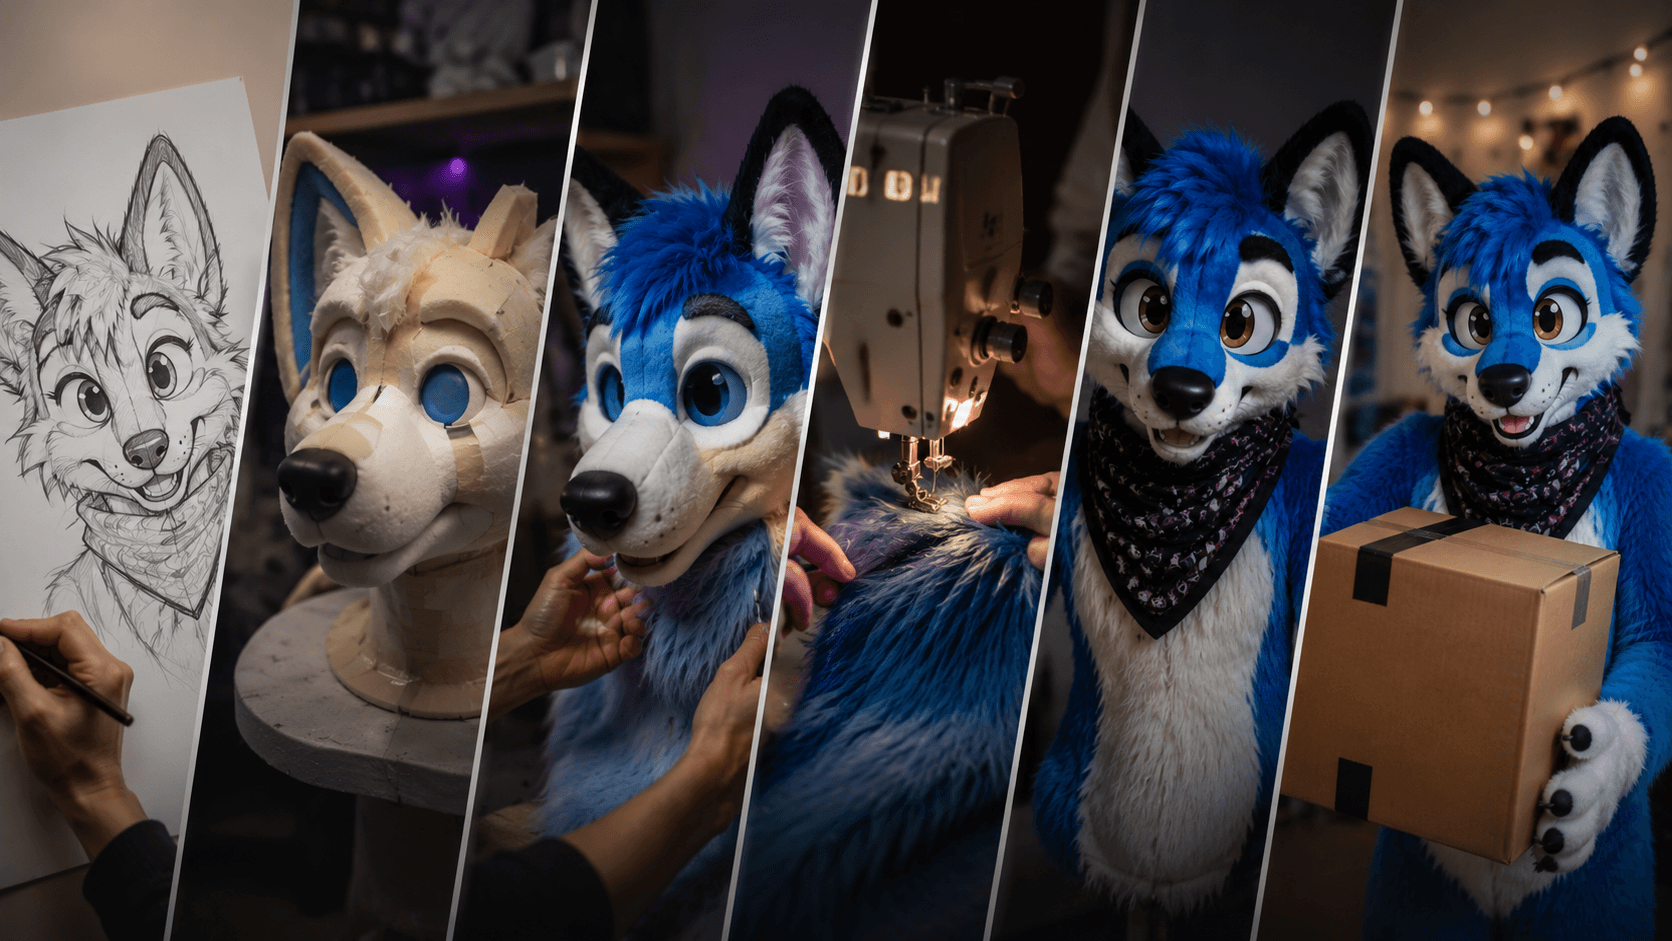
How long does it take to make a fursuit?
Let’s start with the main expectation. According to reference sources, a single full-scale suit requires over 200 hours of work. The head is the most complex part, accounting for a significant portion of that time. For a beginner, creating the first suit involves weeks or even months of work, not just a weekend project.
The process outlined below reflects how a suit is actually made. The steps are the same for both professional workshops and hobbyists; the difference lies in experience and tools.
What the process consists of
- Design and reference.
- Head base.
- Patterns based on the base.
- Cutting and sewing the fur.
- Covering the base; eyes and details.
- Body, paws, and tail.
- Shaving, coloring, and final touches.
Now, in more detail.
1. Design and reference
Before moving on to materials, you need to decide what you are making. You will need a reference sheet showing front, side, and back views, as well as colors and markings—read the ordering guide to learn how to prepare one. At the same time, choose the format: just the head, a partial, or a full suit. It makes sense for beginners to start with the head, as it allows you to practice all the essential skills.
2. Head base
The base is the framework beneath the fur; the shape, weight, and fit all depend on it. Common materials include foam, 3D-printed parts, plastic, and paper-based structures. You can find a comparison in the article "Fursuit Base".
For foam heads, medium- to high-density upholstery polyurethane foam is most commonly used; it is lightweight and easy to cut. Parts are joined using contact cement, while smaller elements are attached with hot glue.
Before covering the base with fur, wear it for at least 10 minutes. Check the line of sight, ensure there is enough room for the jaw, and verify that the head sits evenly—correcting these issues after the fur has been applied is much more difficult. You can find more details on head construction in the article "How to Make a Fursuit Head and Mask".
3. Patterns
Fursuit patterns are most often created using the "tape cast" method: the base is covered with masking or reinforced tape, the outlines of the pattern pieces are drawn on it—along with fur color and pile direction—and the pieces are then cut out and laid flat. For the body, the cast is made directly on a person over a layer of plastic wrap, creating a "duct tape dummy." You can find more details in the article "Fursuit Patterns".
4. Cutting and sewing fur
Fur is the primary material for the suit (how to choose fur). Key rules:
- cut the pieces following the direction of the pile so that the fur lies the same way on all parts: downwards on the body and towards the neck on the head;
- cut only the fur backing (base) without damaging the pile; the tips of sharp scissors or a hobby knife are suitable for this;
- it is helpful to trim the fur beforehand to reduce bulk and make sewing easier;
- use a seam allowance of at least ½ inch (approx. 1.3 cm); trim the pile within the seam allowances and push it away from the seam line while sewing.
5. Covering the base, eyes, and details
The fur is sewn into a uniform and placed on a base. Some of the seams are left open to make gluing and adjustment easier; The glue is applied where the curvature of the surface changes: in the folds of a smile, on the cheekbones, near the ears. It is better to use a minimum of glue so that the head can breathe.
Then add:
- eyes - blanks or irises drawn on fabric. A black mesh is placed behind the eyes, through which you look out;
- nose, mouth and teeth - made of plastic, silicone or felt;
- ventilation - leave part of the mouth area open, add a small fan, or both: without air flow, the head quickly becomes foggy and overheats.
6. Body, legs, and tail
- Paws and gloves — a separate technique: see "Fursuit Paws and Gloves".
- Tail — article on the tail.
- Body — usually a bodysuit made of stretchy fabric with fur attached; for partial suits, this is replaced by regular clothing.
7. Trimming and finishing
The final stage involves trimming the fur with clippers and scissors to shape the muzzle; this is where the facial "sculpture" truly takes form. The fur is often carefully combed and lightly misted with a spray bottle before the final trim. Seams on the muzzle are concealed using strips of felt around the nose and lips.
What you'll need
Tools: sharp scissors and a craft knife, a sewing machine or hand-sewing needle, a glue gun, hair clippers (preferably with adjustable length settings), a comb or brush for fur, pins, a ruler, and markers.
Materials: faux fur in the required colors, foam, contact adhesive and hot glue, pattern tape, felt, eyes and mesh, lining fabric, stuffing, and plastic for structural parts.
Almost all the tools can be found at a standard fabric or hardware store; the fur and specialized components will need to be ordered separately.
Common mistakes made by beginners
- Starting immediately with a full suit. It is better to make the tail, paws, and head first.
- Not testing the base on yourself before covering it with fur.
- Ironing the fur. Faux fur should not be ironed; high heat and steam ruin the pile. Seams should be flattened with your fingers.
- Cutting against the grain (nap). The direction of the pile cannot be "fixed" later.
- Neglecting comfort. Visibility and ventilation need to be factored in during the base-building stage.
- Skimping on materials that cannot be fixed later, such as poor-quality fur or a weak base.
Do it yourself or order it
If you want to master the craft, start with small projects and follow step-by-step guides for each stage. If the final result and deadlines are what matter most, it is easier to order a fursuit from a professional maker; take a look at the portfolio and pricing. You can find more details about our workflow in the “Process” section.
Questions and Answers
Can you make a fursuit at home without prior experience? Yes, but your first suit will be simple and time-consuming to make. Start with smaller components: ears, a tail, and paws.
How much do materials for the head cost? It depends on the base, the fur, and the details. Hobbyist guides often cite very low cost estimates for paper or foam heads, but these figures frequently overlook the cost of high-quality fur and tools; base your budget on your own calculations.
Where should I start? Decide on your character, create the base, check the fit, and then make your patterns and start sewing. You can find full details in the guide “DIY Fursuit”.
Want a custom fursuit?
Tell us about your character — we will assess the project and name the timeline and price.