
Fursuit Patterns: How to Create Them Using a Base and Body Measurements
How to create fursuit patterns using the duct tape method: preparation, marking, darts, fur direction, and common mistakes. For the head and body.
- #DIY
- #patterns
Why fursuits aren't made using "ready-made patterns"
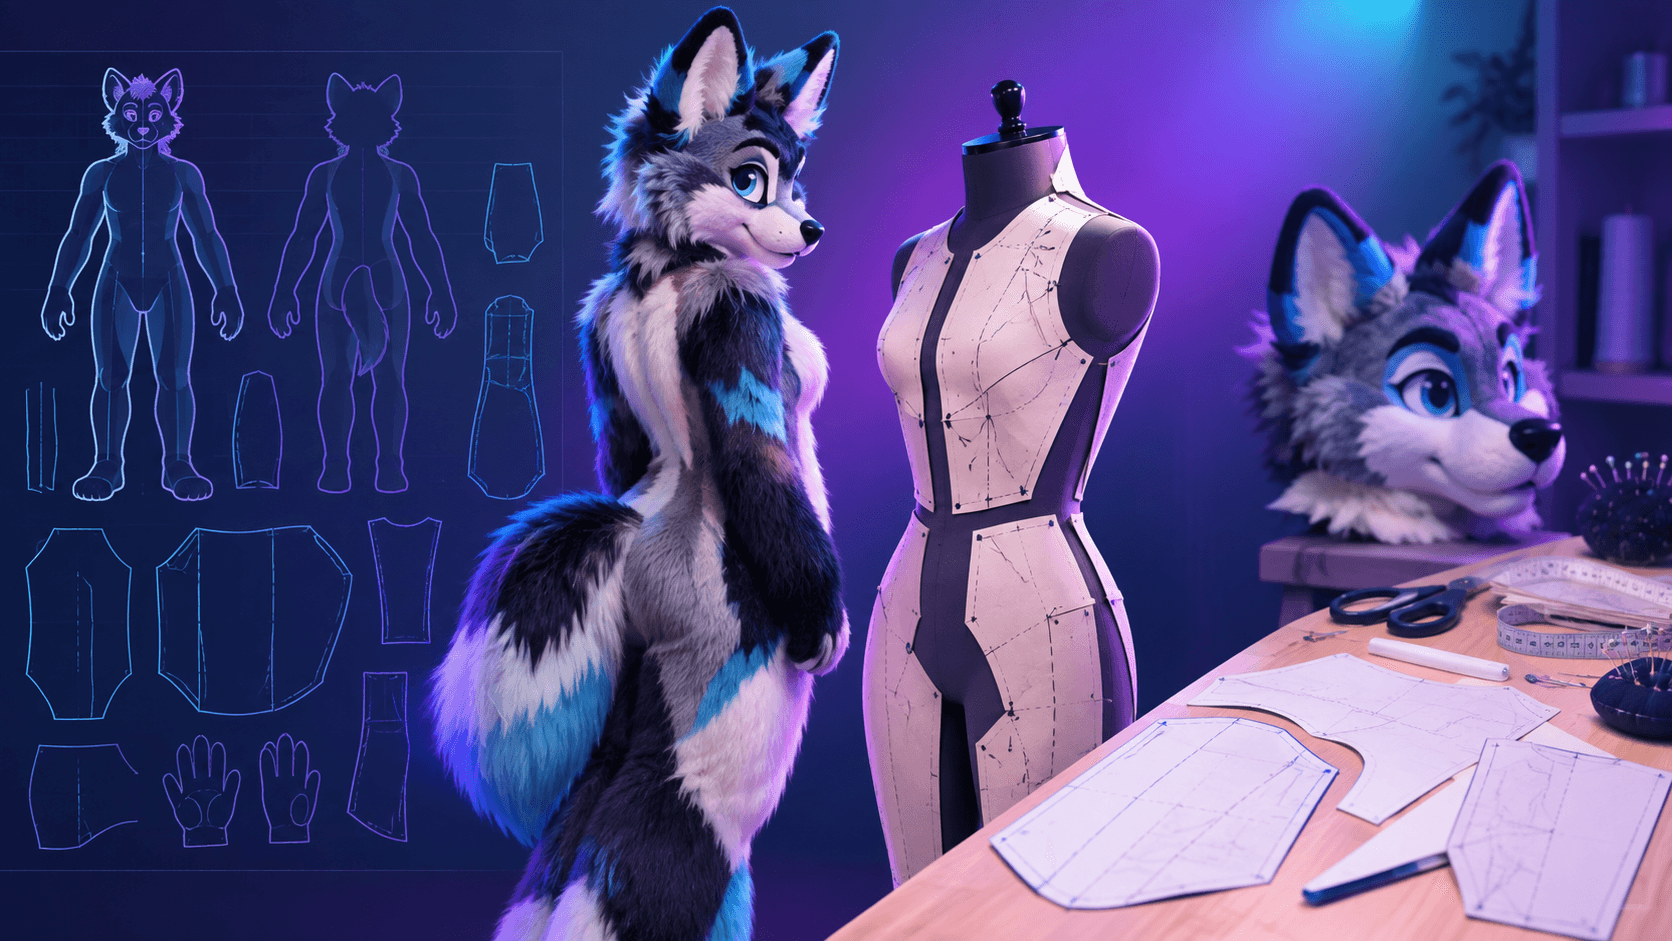
Standard clothing relies on size-based patterns. A fursuit’s shape, however, depends on the head base and the wearer's physique, so universal patterns rarely work; the fur must conform to a three-dimensional surface. Consequently, patterns are created directly from the base or the body. The most common method is the tape-cast technique.
Principle: a flat image derived from a three-dimensional form.
The idea is simple: a three-dimensional form is covered with tape, marked with guidelines, and then cut apart and laid out flat. This yields a set of pieces that, once sewn together, reassemble into the original 3D shape.
Pattern for the head
What You Need
- A head base (symmetrical); a mannequin with shoulders is best—without shoulders, the hood-and-neck pattern tends to be uncomfortable.
- Medium-tack masking tape or painter's tape (tape that is too sticky is difficult to remove).
- Marker, scissors, craft knife.
- Needles, thread, and a sewing machine (optional).
Process
- Cover the base with tape: use small pieces for the edges and larger strips for flat areas.
- Mark the character details on the tape: fur colors, pile length, and pile direction (using arrows).
- Draw the cut lines. If the head is symmetrical, you only need to create a pattern for one half and mirror it. Place seams where the curvature changes sharply: on the muzzle, chin, and brow. Divide the ears into front and back sections.
- Add registration marks—short perpendicular lines across the seam lines—to help you assemble the parts correctly.
- Cut out the pieces and lay them flat.
- Create darts—slits that allow a convex piece to lie flat—or split the piece into separate sections for concave areas.
- Transfer the patterns to the fur by placing the tape pieces sticky-side up, and double-check the pile direction before cutting.
Things to Consider
- Facial seams are best hidden within natural contours, such as under the cheekbones or along the sides of the nose.
- A zipper or fastener at the back makes it easier to adjust the fit of the head. ...it is set in advance.
- Seam allowances. Add at least ½ inch (approximately 1.3 cm) for the seam allowance so that the pile within the allowance can be trimmed.
Pattern for the body and sleeves
To create a body form, a "duct tape dummy" is typically made:
- The person is wrapped in plastic wrap from the hips to the shoulders.
- Duct tape is applied tightly over the plastic wrap, with the strips overlapping.
- The cast is carefully cut along the side to remove it.
- The boundaries of the fur coverage and the seam lines are marked on the cast.
- The resulting sections are used as pattern pieces.
It is best to have a helper when making the cast. Remember that the cast captures the exact shape of the body, so you must add ease for movement when creating the costume from it.
Patterns for paws and legs
For paw-style gloves, it is common to trace the hand on paper and sketch out the fingers; for more details, see the article "Fursuit Paws and Gloves". Feet and digitigrade legs require specific patterns that account for padding and stride mechanics; when starting out, it is easier to use standard templates and adjust them for the fit.
How to adapt a ready-made pattern
Ready-made patterns (which can be found from other makers) serve as a good starting point, but you need to cross-check them against your base pattern and measurements:
- check the size and proportions;
- verify the angles and cut lines;
- make a test version using inexpensive fabric before cutting the fur.
Common mistakes
- Didn't account for the fur's nap direction. The piece will have to be recut.
- Too few seams. A flat piece of fur didn't drape correctly over the complex shape, resulting in folds.
- Too many seams in visible areas—the muzzle looks "patchwork."
- Didn't check the base's symmetry. Any distortion in the base will carry over to the pattern.
- Forgot about seam allowances and alignment marks.
If you are making a suit for the first time, start with the general guide "How to Make a Fursuit" and the article on fur.
Questions and Answers
Can I make a fursuit pattern without a base? Theoretically, yes—using a head mannequin—but then you won't have a functional base for the fur. Patterns are usually created based on a finished base.
How many pieces does a head usually consist of? It depends on the shape and style: a toony head has fewer pieces, while a realistic one has more.
Do I need a pattern if I’m ordering a suit? No: the maker creates it based on your measurements. You can find more details in the ordering guide.
Want a custom fursuit?
Tell us about your character — we will assess the project and name the timeline and price.